Shower Diverter Repair: A Comprehensive Guide
Shower diverter issues are common in many households, and they can cause a serious inconvenience when they’re left unaddressed. The shower diverter is the part of your shower that redirects the flow of water from the faucet to the showerhead. It can become problematic overtime, leading to a poor showering experience. But don’t worry, you don’t necessarily need to call a plumber right away – with the right knowledge and tools, you can undertake this task yourself. Let’s walk through everything you need to know about shower diverter repair.
Understanding Your Shower Diverter
Before you get started on fixing your shower diverter, it helps to understand how it works and the different types that exist. The diverter valve is the component that directs water from the bathtub faucet to the showerhead. There are three main types of diverters: a gate-diverter (located on the tub spout), a two-valve diverter (on the faucet assembly), and a three-valve diverter (between the taps of a two-tap faucet). Knowing which type you have is crucial as it influences the steps for repair.
Diagnosing Diverter Problems
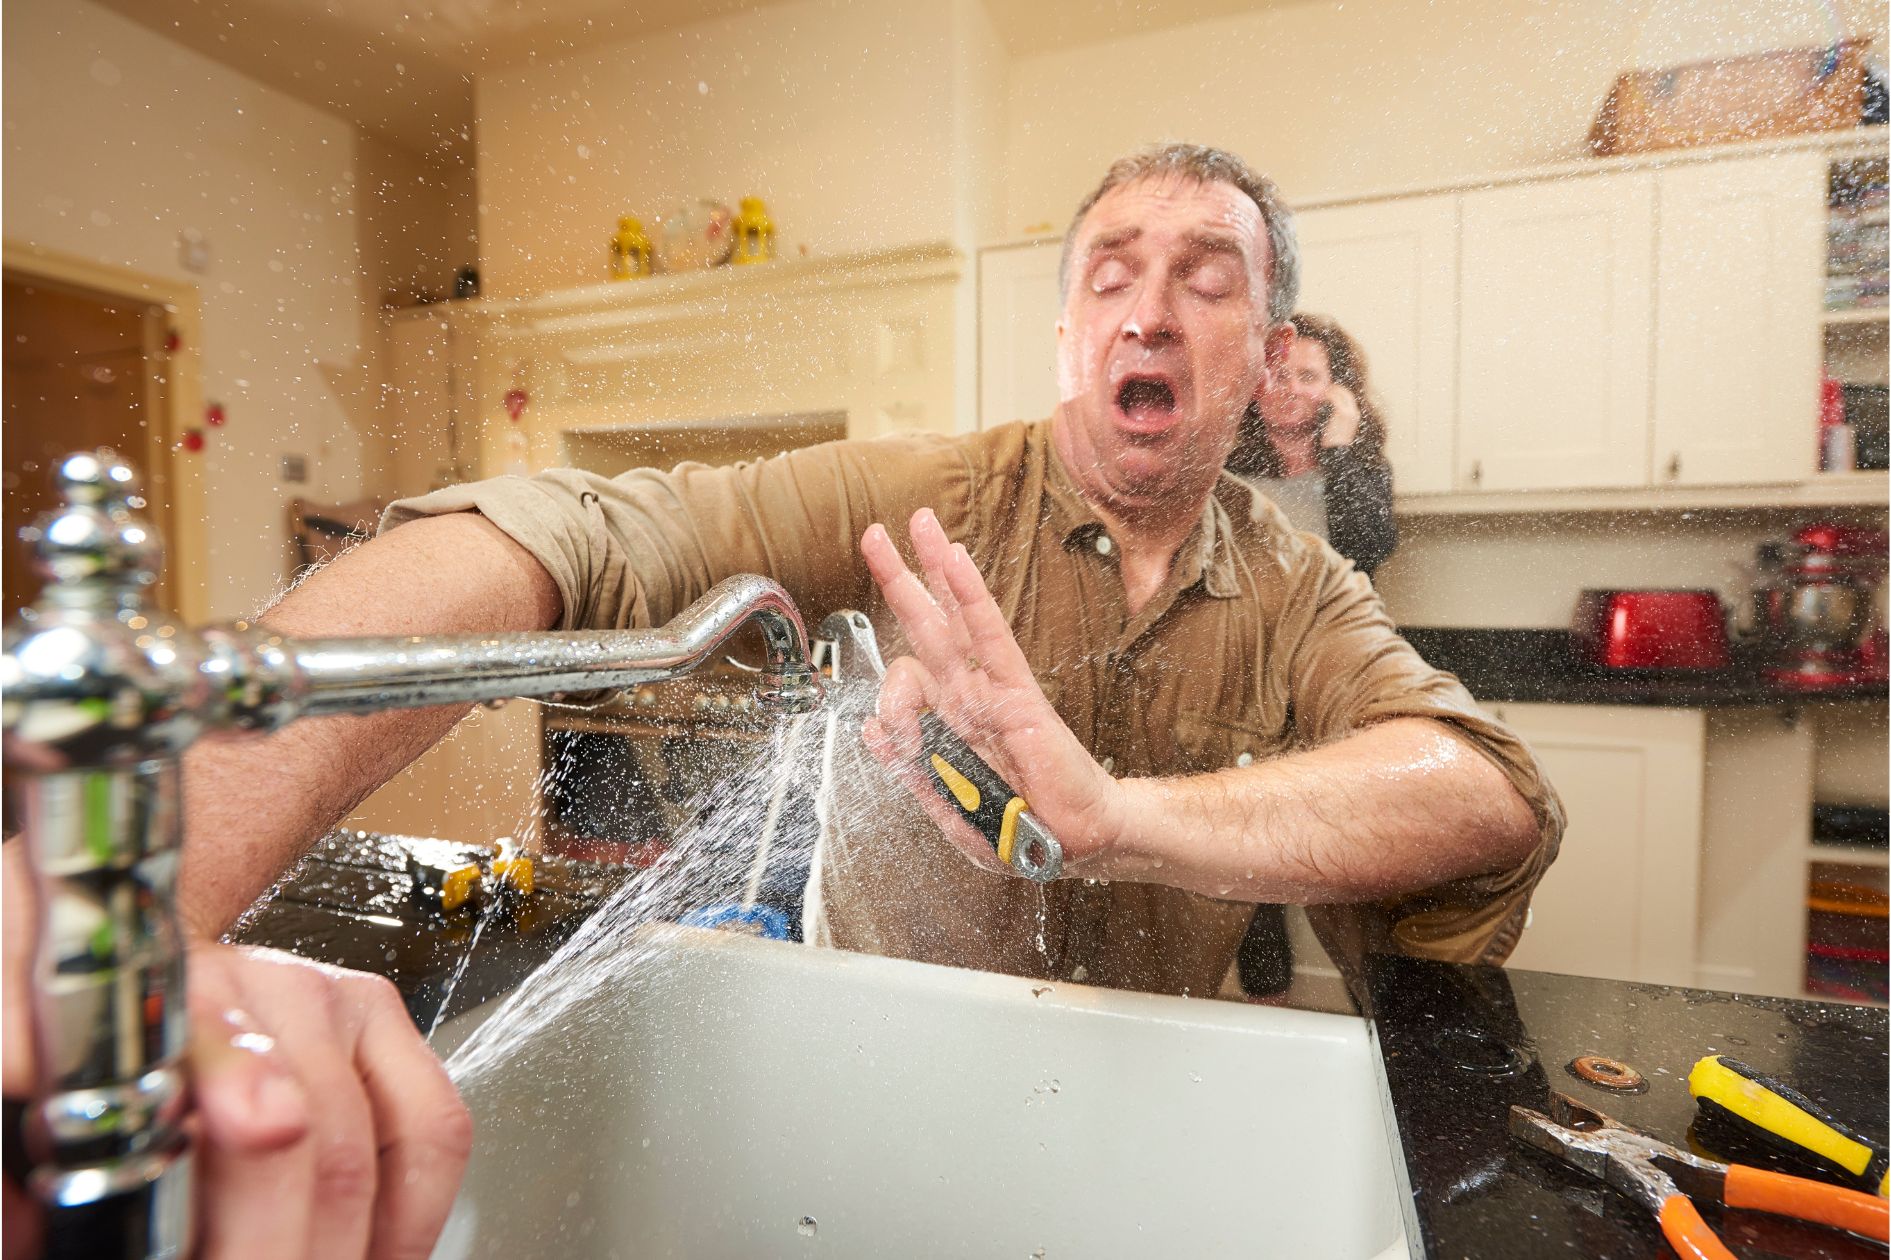
Common signs of a faulty diverter include water leaks from the tub spout during a shower, decreased water pressure in the showerhead, or inability to shift water flow completely from tub to shower or vice versa. Once you’ve established that your diverter is indeed the problem, it’s best to fix it promptly to avoid wasting water or causing further damage.
Gathering Your Tools
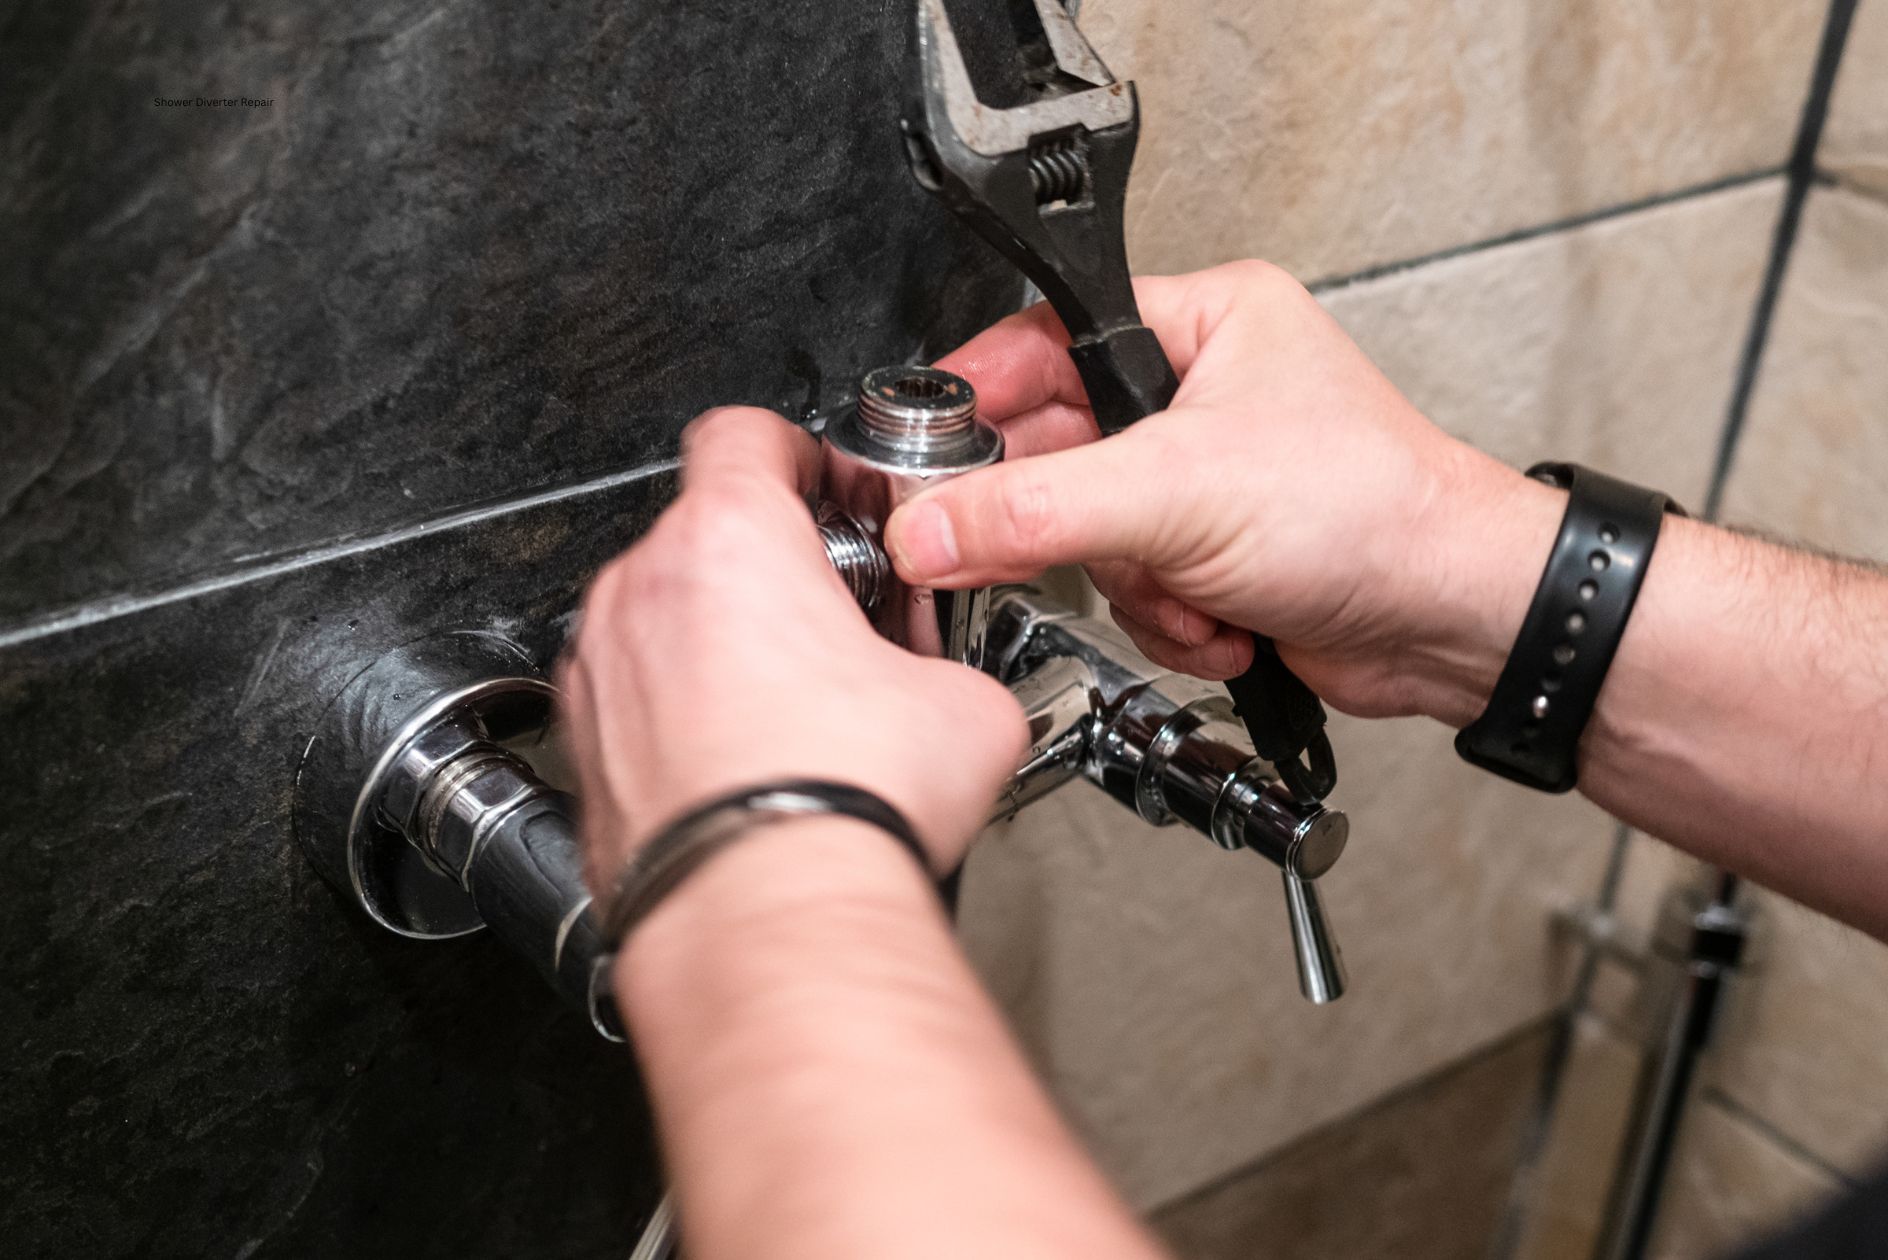
Before you can embark on your repair mission, it’s essential to gather all necessary tools. While they may vary depending on your diverter type, some standard tools you’ll typically need include a screwdriver, adjustable wrench, plumber’s grease, replacement parts (like a new diverter valve if necessary), and possibly a handheld hair dryer. The latter can come in handy if you need to warm up a stuck pipe or fitting.
Removing the Faulty Diverter
After switching off your water supply, unscrew and remove the tub spout or faucet handles (depending on your diverter type). This step may require some patience and careful maneuvering to avoid causing any damage. If the components are stuck due to accumulation of mineral deposits over time, using vinegar can help loosen them. Once these parts are removed, you’ll be able to access the diverter valve for removal.
Inspecting and Replacing the Diverter
With the diverter valve removed, inspect it for any visible damages or wear. If it’s clear that your diverter is broken or worn out, you’ll need a replacement part that matches the exact type and size. Once you’ve acquired a new diverter valve, apply a little plumber’s grease on its moving parts before installing it back into its place. This aids smooth operation and prolongs its lifespan.
Putting Everything Back Together
After replacing the diverter, it’s time to reassemble everything. Be sure to do this carefully, ensuring all parts fit snugly back into their respective positions. Tighten any screws or bolts but take care not to overtighten as this could lead to cracks or leaks in future. Once everything is put together, restore your water supply and test the operation of your new shower diverter. If all is well, congratulate yourself on a job well done!
In conclusion, shower diverter repair may seem daunting, but with a little patience and the right tools, it’s something you can handle yourself. Not only will this save you money on plumbing costs, but it also equips you with a useful skill for future home repairs.
When to Call a Professional
While many shower diverter repairs can be managed with basic DIY skills, some situations may require professional assistance. If you encounter persistent leaks, find that the diverter is deeply corroded, or if the plumbing configuration is complex, it’s wise to consult a professional plumber like Sunset Plumbing In Bend Oregon. A trained expert can diagnose and address underlying issues that might not be immediately apparent, ensuring a more durable and effective repair.
In addition, if you’re uncomfortable with the repair process or lack the necessary tools, hiring a professional can save you time and prevent potential damage to your plumbing system. Professionals bring experience and specialized equipment, which can be particularly valuable for older or more intricate plumbing setups. By enlisting their help, you can achieve peace of mind knowing the job is done correctly and safely.
Contact Sunset Plumbing today: CALL: 541-382-0109
Conclusion
In conclusion, shower diverter repair may seem daunting, but with a little patience and the right tools, it’s something you can handle yourself. Not only will this save you money on plumbing costs, but it also equips you with a useful skill for future home repairs. However, don’t hesitate to seek professional help when needed to ensure the best outcome for your plumbing system.
Frequently Asked Questions
What are the common signs of a faulty shower diverter?
Typical signs include water leaks from the tub spout during a shower, decreased water pressure in the showerhead, or inability to shift water flow completely from tub to shower or vice versa.
How can you diagnose a faulty shower diverter?
Assess the performance of your shower. If there are issues with water pressure or flow redirection to the showerhead, your diverter may be faulty.
What are the types of shower diverters?
There are three main types: a gate-diverter, a two-valve diverter, and a three-valve diverter.
What tools are needed for a shower diverter repair?
Common tools include a screwdriver, adjustable wrench, plumber’s grease, replacement parts, and possibly a handheld hair dryer.
How do you remove a faulty shower diverter?
Switch off your water supply, unscrew and remove the faucet handles or tub spout. Once these parts are removed, you’ll be able to access the diverter valve for removal.
How do you inspect the shower diverter?
Once removed, check the diverter valve for visible damages or wear. If it’s broken or worn out, it will need replacing.
How do you replace a shower diverter?
Acquire a new diverter valve that matches your existing one in type and size. Apply plumber’s grease on its moving parts before installing it back into place.
How do you put everything back together after repair?
After replacing the diverter, reassemble all parts carefully. Once everything is back in place, restore your water supply and test the operation of your new shower diverter.
Can you repair a shower diverter by yourself?
Yes, with the right tools and guidance, you can undertake this task yourself.
When should you call a professional for shower diverter repair?
If there are persistent leaks, deep corrosion, or if the plumbing configuration is complex, it’s wise to consult a professional plumber.
What if you’re uncomfortable with the repair process?
If you’re uncomfortable with the repair process or lack the necessary tools, it’s advised to seek help from a professional.
Can professionals bring better results?
Yes. They bring experience and specialized equipment, which can be particularly valuable for older or more intricate plumbing setups.
What are the benefits of DIY repairs?
DIY repairs can save you money on plumbing costs and equip you with useful skills for future home repairs.
What are the benefits of professional repairs?
Professionals can diagnose underlying issues effectively, ensuring a more durable and effective repair. You also achieve peace of mind knowing the job is done correctly and safely.
What should you do after completing the repair?
Test the operation of your new shower diverter. If all is well, congratulate yourself on a job well done!
A Final Word
Shower diverter repairs can be tackled at home with patience and the correct tools. Remember, knowledge is power. Understanding your diverter and its workings gives you an edge when dealing with potential malfunctions. However, it is essential to recognize when a job might be too big for a DIY approach. In such instances, calling in professional help can save you from causing further damage to your plumbing. The key is to strike a balance between becoming more self-reliant with home repairs and knowing when to call in the experts.

